
- Open Payout Manager on the Clover device. The app tile and the title bar read Payouts.If the app says Please login as Manager or Admin, switch to an employee with that role.
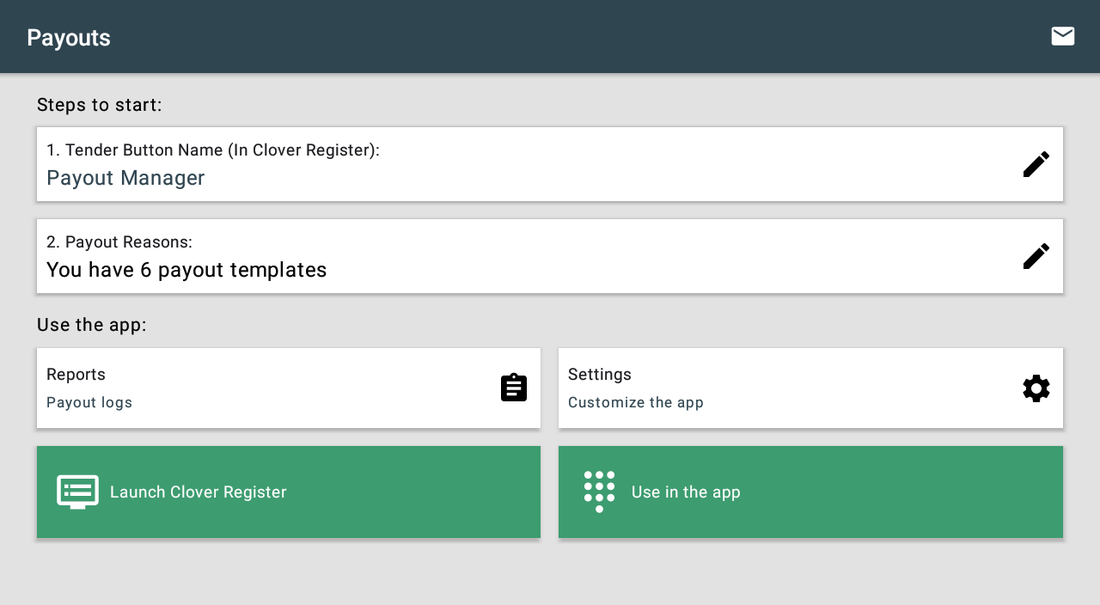
- Step 1 — tap the pencil next to Tender Button Name (In Clover Register) and type the name your cashiers will look for, e.g. Payouts.
- Step 2 — open Payout Reasons and tap + to create your first template.
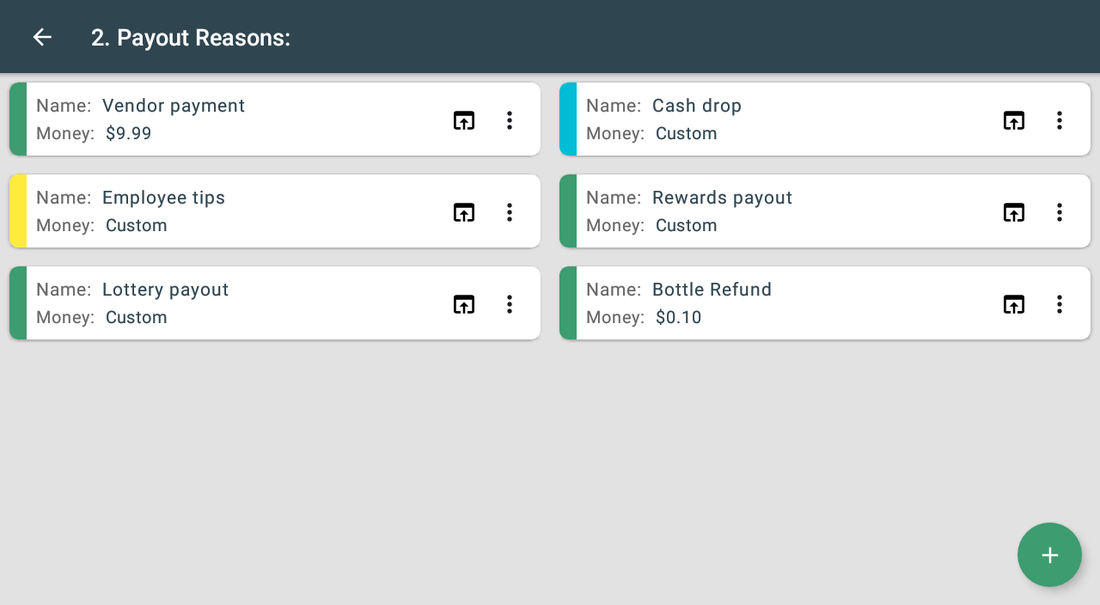
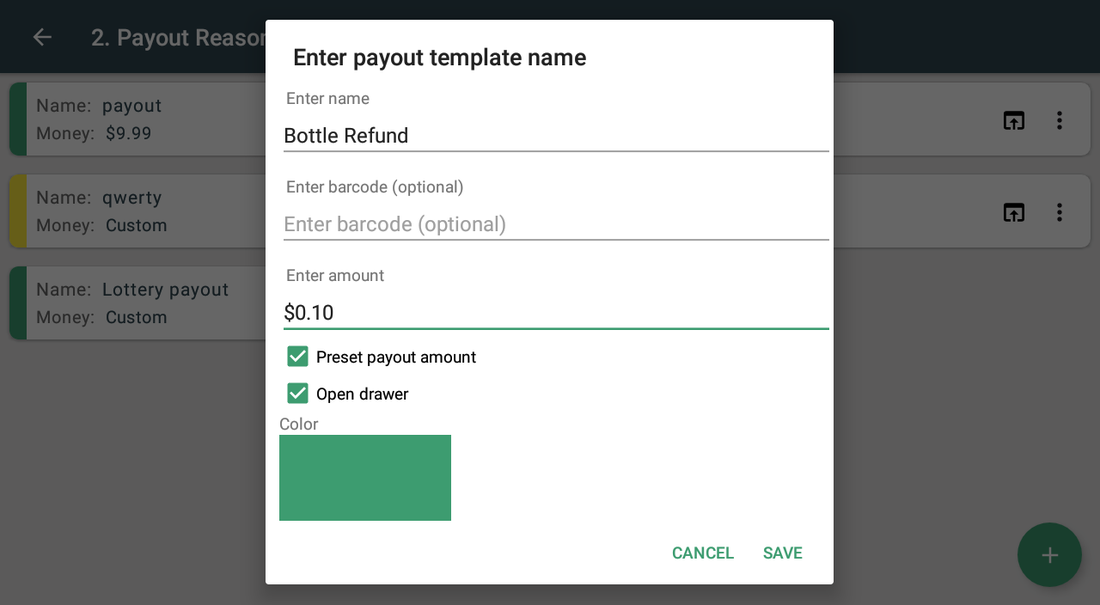
- Fill in the name, leave Preset payout amount unticked for variable payouts (lottery) or tick it and enter a fixed value for fixed ones (bottle deposit).Turn Open drawer on for cash payouts, pick a colour and save.
- Open Settings → Receipt Type and choose Standard so payouts print inside the receipt.
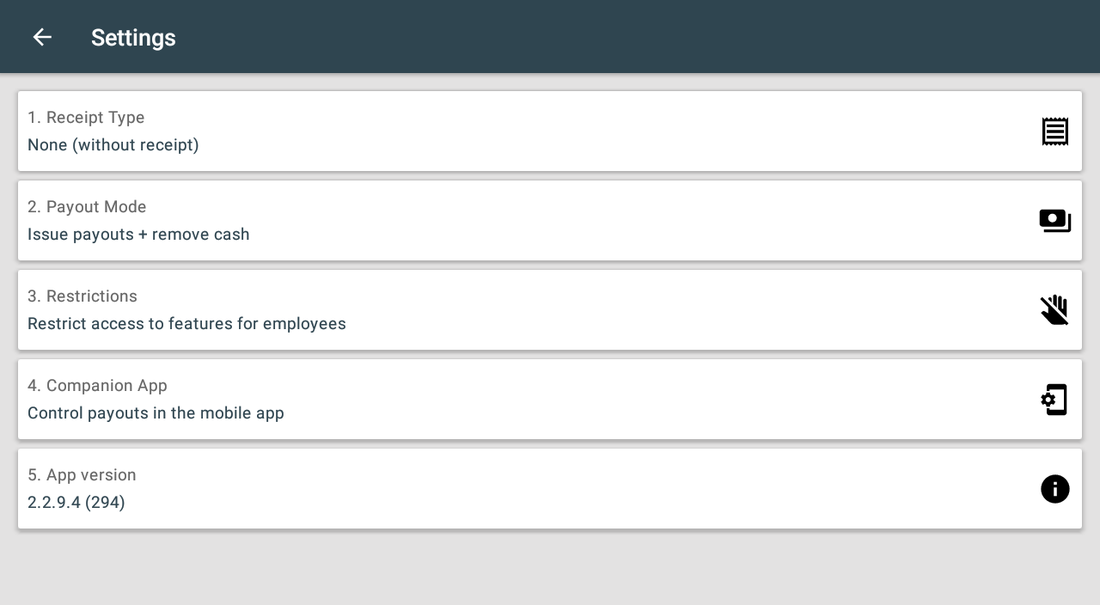
- In Payout Mode choose Issue payouts + remove cash if the money physically leaves the drawer, or Issue payouts only if you reconcile cash elsewhere.
- Open Restrictions, pick the cashier and tick what they must not do — usually Edit templates and Open reports. A ticked box blocks the action; unticking it grants the action back.
- Test it: tap Launch Clover Register, go to the payment screen, tap your tender button, issue a $1 payout and check the log.
Everything here can be changed later without affecting past payouts — including the tender button name, which you can edit any time with the pencil on the home screen.
Back to Payout Manager Download PDF Install on Clover App Market